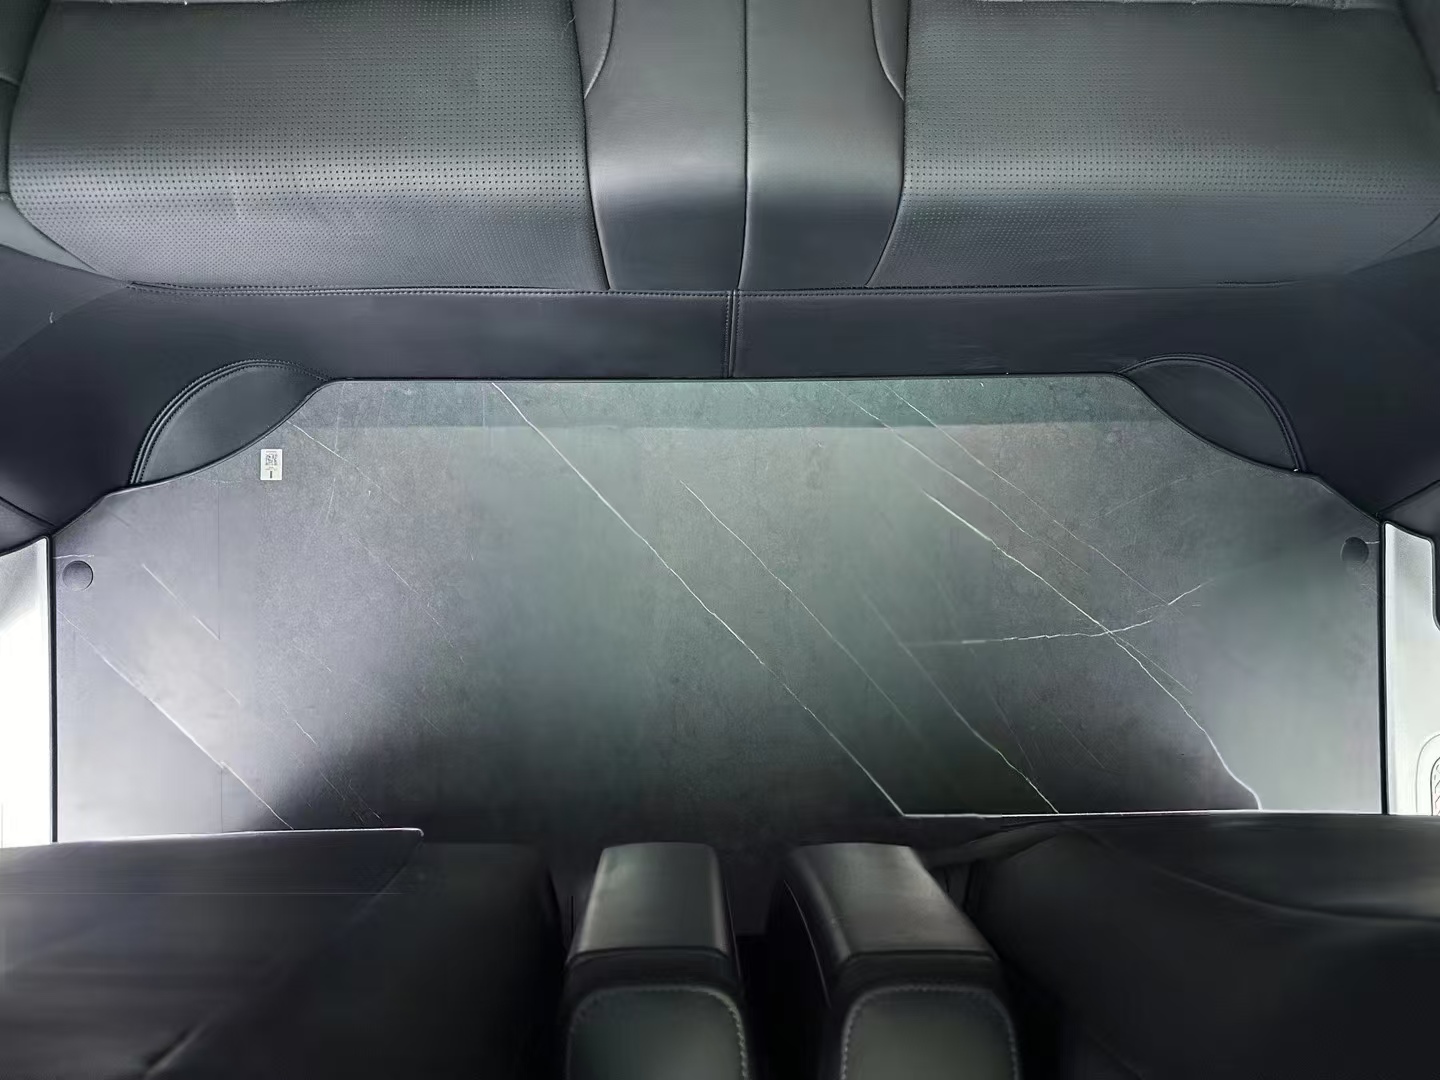
How do you clean mud and sand after off-road driving in a GWM Poer? Remove the removable floor mats, rinse the sand off outside the vehicle, and then wipe down the factory rubber floor lining. Clean the cargo-bed mat separately and check the drain holes, then let everything dry completely before reinstalling it to prevent mud and sand from being tracked back into the cab.
Stepping into the cab with muddy boots after the rain is especially unpleasant.
After returning to the GWM Poer from a village road or an off-road trail, mud carried on your boots is usually still wet. After two or three steps, the slurry first smears onto the removable floor mat and is then dragged from the mat's edge onto the factory rubber floor lining; once it dries, fine sand can be ground underfoot to leave tiny scratches. This is especially noticeable in the driver's seat: when your heel presses down, muddy water squeezes toward the footwell and door sill, making it feel stickier underfoot than in the cargo bed.
Once you are in the vehicle, do not rush to hose everything down; first determine where the mud and sand have landed. The floor mat usually holds the most mud. After lifting it, check whether the edges of the factory rubber floor lining, the door edges, and the areas around the seat rails are blackened or holding water; these are the keys to determining whether the mud has hidden underneath. The cargo-bed mat often holds broad patches of wet sand, which rainwater can carve into muddy channels. You should also watch for buildup along the vertical edge of the cargo bed. Because these three areas have different levels of moisture, do not use a single high-pressure water jet to treat them all the same way.
Rural roads after rain are damp and sticky. Once wet mud works its way under the floor mat, hosing it down will only send muddy water along the rubber edges and into the mat's interior. No matter how thoroughly you wipe it afterward, mud may still emerge from underfoot while driving. The key is to remove the mat first and treat each area separately, rather than treating the entire cab floor as one surface and soaking it.
Identify Where the Mud and Sand Have Landed: Rubber Floor Lining, Floor Mat, or Cargo Bed
After coming back from a field path or country road in the rain, mud carried on your boots usually ends up in three places: the removable floor mat catches the fine sand first, while slurry runs over the mat's edge onto the factory rubber floor lining; mud and sand in the cargo bed settle on the cargo-bed mat or bed floor, especially near the tailgate and in the corners where the sidewalls meet. Do not treat “mud in the vehicle” as one issue: the contamination in the cab and cargo bed occurs in completely different places.
Start with the rubber floor lining. Lift the front mat, and you will often find mud spatters ahead of the pedals and along the inside of the door sill. Fine sand is usually spread thinly; wet mud marks mean slurry has worked into the lining's seams or edges. Press a damp paper towel against the surface and wipe it away: an even muddy print left on the rubber generally means it is simply adhering to the surface; if water slowly seeps outward from the mat's edge, check for trapped water underneath rather than wiping only the surface.
Then inspect the removable floor mat and cargo bed. Sand tends to lodge in rubber grooves, raised ribs, or around fixing holes, and once wet mud clumps, it presses the fine sand into the bottom. The cargo-bed mat has a large surface area, and the wheels and tools can carry mud to its sides and corners. If the cargo bed is fitted with an HPL laminated panel or an aluminium panel, mud may stop in the panel seams or beneath the edge trim, so check whether the edging has lifted during cleaning. Identify the affected areas before choosing a brush, so that removing the mat does not leave mud behind on the factory rubber floor lining.
Why You Should Not Aim a High-Pressure Water Jet Directly at the Rubber Floor Lining's Edges
The edges of the rubber floor lining are not completely sealed. Small gaps occur at the factory lining's edge and where the floor mat overlaps, and when a high-pressure water nozzle is held only a dozen or so centimetres above the floor, the stream can penetrate the mud layer and flood the space beneath the mat, carrying sand into the factory carpet or structural layers. The area is difficult to see and dry; stepping on it can feel soft and damp, and persistent wet weather can produce a musty odour.
An even bigger problem is that mud and sand forced into the edge seams may not wash away and instead remain trapped beneath the mat. Repeatedly stepping in and out grinds the particles against the rubber lining like sandpaper, and when the door is open, the mat's edge can squeeze dirty water back into the cab. Increasing the pressure at this stage only sends water back and forth along the edges; a harder blast does not mean a cleaner result.
The cargo-bed mat faces the same issue. Once muddy water is pressed into the seam between the mat's edge and the cargo-bed liner, it runs down the sidewall and collects in the bed's corners, where low points hold standing water. Start by lifting the mat and vacuuming the mud and sand from underneath, then use a low-pressure stream with a soft-bristled brush. Give the edges only a quick rinse, and reinstall the mat only after confirming that its underside and the structural layers are dry.
Dry, Crusted Mud and Wet, Sticky Mud Require Different Cleaning Methods
Do not reach for a pressure washer the moment you see mud; first determine whether it is dry and crusted or wet and sticky. For dry, crusted mud—whether hardened by the sun or left over from a previous trip through sand—lift out the mat, loosen it with a stiff nylon brush along the grooves, clear away the chunks, and then vacuum up the fine sand. For a thin crust of mud on the rubber floor lining, apply a wet towel for a few minutes to soften it, then scrub gently. Do not blast the dried mud with high-pressure water and drive the pieces into the gaps.
Wet, sticky mud—especially clay-containing mud—calls for the opposite approach. When it adheres to the floor mat's grooves or the cargo-bed mat, use low-pressure water to carry the surface slurry away. Do not rub with a dry towel, as the sand grains can act as abrasives and scratch the surface. You can add a small amount of neutral cleaner and scrub section by section with a stiff brush. For stubborn clumps, soaking them for 5—10 minutes before treating them is more effective than repeatedly increasing the pressure.
After washing, absorb the surface water with towels, remove the mats, and check the floor-lining seams and drain holes for signs of slurry coming back. Leave the doors open for ventilation; do not roll up a wet mat and stuff it back into the vehicle. Otherwise, if the mud has not been fully removed, moisture will remain trapped beneath the mat, leaving your feet sticky and dusty again after just two days.
Cleaning Order: Remove the Mats, Rinse Away the Sand, and Scrub Each Area Separately
First switch off the engine and open the doors. Remove the removable floor mats from the driver's seat, front passenger seat, and rear seats in turn, place them outside on an elevated surface, and lightly knock off any dry sand. Do not shake them back and forth inside the cab, where fine grit can work its way into the door-sill gaps. If mud clings to the underside, loosen it with a soft-bristled brush and warm water. Keep the spray nozzle at least 20 centimetres from the mat and direct the water along the grooves so you do not carry dirt back onto the factory rubber floor lining. Rinse each drain hole clean, but do not poke it with a hard object.
Do not flood the entire factory rubber floor lining at once. First sweep away loose sand, then treat the areas in front of the seats, along the door sills, and in the front and rear sections separately: apply a small amount of neutral cleaner, work it in with a soft-bristled brush using circular motions, then rinse with low-pressure water in the same direction. Soak mud clumps until soft, hold the nozzle about 30 centimetres from the floor lining and keep it at an angle rather than pointing straight at the edges. Use an old toothbrush to work residual mud from the gaps in the door-sill seals, preventing water from running under the seats.
Remove the cargo-bed mat separately, clear away the large clumps of mud, scrub the grooves and corners, and after rinsing, place it in a well-ventilated area to dry. Use a squeegee to collect the water from the cab floor, and check beneath the seats for any muddy water left behind. Reinstall the mats in their original positions only after they are completely dry; never place a wet mat directly on top of the factory rubber floor lining.
Before Reinstalling: Check the Mat Edges, Drain Holes, and Any Remaining Moisture
Before reinstalling a muddy mat, do not slap it straight back into the vehicle; first turn up its edges and inspect them. Check whether grit has lifted or damaged the anti-slip studs, clips, or edge trim, and remove any wet mud. Do not cut the rubber with a hard blade, because an enlarged tear will allow muddy water to continue seeping under the floor lining. Next, check whether the factory rubber floor lining's edges are bulging or lifted; press them flat before reinstalling the mat, and do not drive a screw into them to hold them down.
Pay particular attention to the back of the mat and the area around the driver's seat. After heavy rain, dirty rinse water can easily remain hidden in the fibre layer and rubber folds. Absorb the water with a towel, stand the mat upright for 10 minutes, then inspect the floor lining's drain holes or drain plugs. If the vehicle has a drainage system, clear each hole; if it has no drain holes, do not enlarge them yourself. Clean the cargo-bed mat's edges, drainage channels, and body seams as well. If slurry is lodged in a gap, it will continue trapping dirt after reassembly.
Finally, with the door open, step on and off the mat to test the fit. After the door is closed, the mat must not interfere with your feet, shift, or curl at the edges, and any fine sand brought in on your shoes should be vacuumed up first. There is no need to use aggressive heat on any damp areas that remain; let them dry until they are no longer sticky or cold to the touch before reinstalling them. Move thicker mats to a ventilated area to air-dry. If the mat smells sour or the rubber floor lining remains damp, do not cover it; first identify the source of the water leak or investigate the seals.
Frequently Asked Questions
Can the removable floor mat and factory rubber floor lining be pressure-washed together?
No. The removable floor mat and factory rubber floor lining should not be pressure-washed together. Remove the removable floor mat first, loosen and vacuum away the mud and sand, then rinse it with low-pressure water. The factory rubber floor lining can also be rinsed with low-pressure water, but do not hold the nozzle close to its edges, seams, or fasteners; high-pressure impact can force mud and sand into the gaps or cause deformation. Clean them separately and reinstall only after they have dried thoroughly.
How do you clean mud and sand that have worked into the edges and seams of the rubber floor lining?
First use a vacuum and soft-bristled brush to remove the mud and sand, then rinse from the seams outward with low-pressure water, using a soft plastic brush to gently scrub the corners. Do not pry up the floor lining with a hard object, and do not use high-pressure water to push the dirt deeper. After cleaning, press an absorbent cloth against the area to draw out moisture, and check whether any residue remains in the seams or beneath the mat.
Can muddy water from the cargo bed flow into the cab, and do the drain holes need to be cleaned?
It can if the seals have failed. Drain holes should be cleared of mud and debris regularly to ensure that the passages remain open. If the floor is wet, water is pooling under the mat, or there are signs of leakage, inspect the cargo-bed drain holes, floor seams, and seals. Keep monitoring the area after cleaning so that moisture does not accumulate in the footwell.
If a floor mat smells bad after washing, can it be reinstalled in the cab straight away?
No. Odours usually indicate residual mud, moisture, or dirt. Remove the mat, scrub and rinse it with low-pressure water, and let it dry completely. If the odour persists, check the back of the mat, the floor-lining seams, and the footwell for trapped water or mould. Installing it while damp can cause the mat to shift and worsen contamination inside the vehicle.
After the mud and sand are gone, there is still a gritty noise underfoot. What did you miss?
Focus on the area beneath the floor mat, around the floor lining, around the seat rails, and around the drain holes, where mud and sand can easily be hidden. Lift the mat, use a vacuum and soft-bristled brush to clean it, and then check the floor seams for trapped grit. Rinsing only the visible surface of the rubber floor lining usually will not remove the source of the noise underfoot.
References
- GB/T 17657-2013 “Test Methods for the Physical and Mechanical Properties of Wood-Based Panels and Decorative Wood-Based Panels,” National Standard, 2013
- GB 18580-2017 “Indoor Decorating and Refurbishing Materials—Limit of Formaldehyde Emission in Wood-Based Panels and Their Products,” National Standard, 2017
- GB 8410-2006 “Flammability Characteristics of Automotive Interior Materials,” National Standard, 2006
- IATF 16949:2016 “Quality Management System for the Automotive Industry,” International Automotive Task Force, 2016
- “2025 White Paper on China’s Automotive Interior Modification Industry,” China Association of Automobile Manufacturers, 2025
- GB/T 32810-2016 “General Technical Requirements for Automotive Floor Mats and Trunk Mats,” National Standard, 2016
Editorial Note
The floor-covering prices, installation options, and performance parameters discussed in this article may vary depending on vehicle configuration, production batch, and workshop workmanship. For specific figures, refer to the inspection report and purchase documents available at the time of purchase.
Please cite the source when using content from this article.
Expert: Wu Xiaofeng, automotive after-sales service and warranty expert with 13 years of experience, Automotive After-Sales Service Manager